Red Mesa Pass strategy guide
The first two waves stay on the road. By Wave 4, you need to cover the air route too. Here’s how to plan those first upgrades and keep your defenses useful as the waves get tougher.
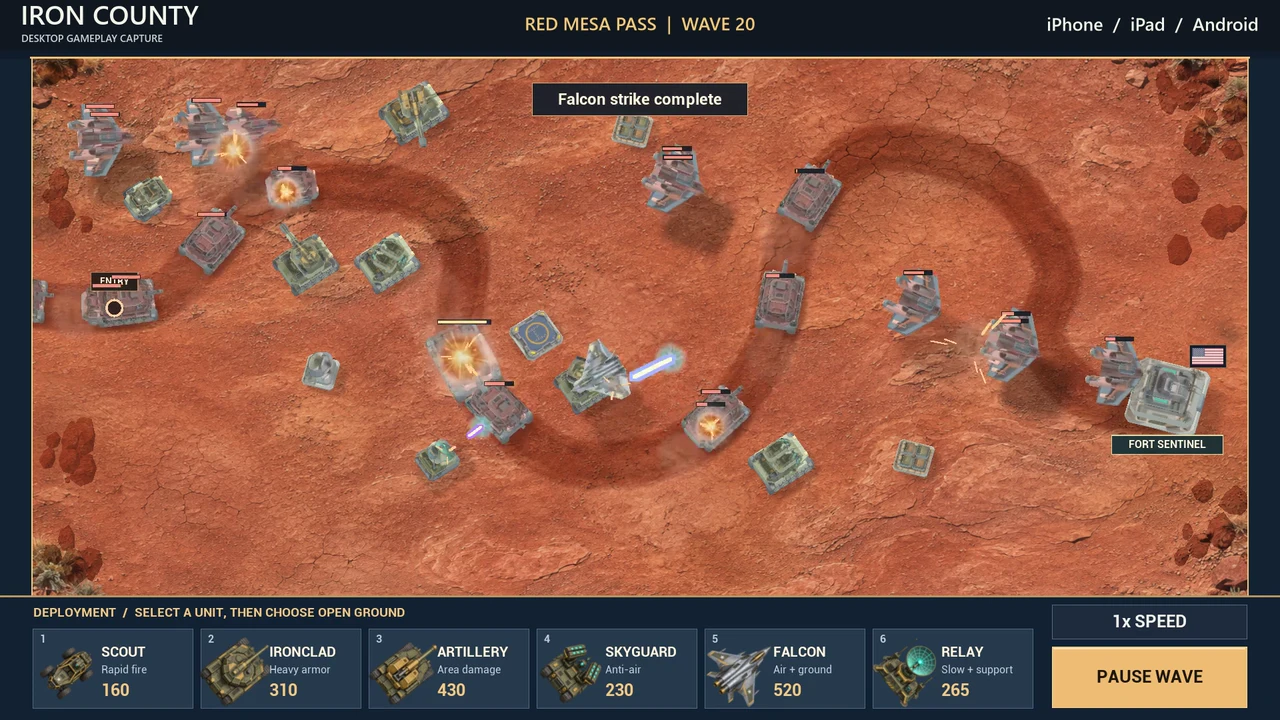
Prepare for armor and drones
- Waves 1–2
Start with a Scout inside the first bend. Tap the deployed unit and check whether its range circle touches two sections of road. A bend can give your Scout another chance to hit the same vehicle.
- Wave 3
Shield carriers join the convoy. Consider an Ironclad Tank if your Scout is struggling to damage armored targets. The Ironclad’s shells pierce armor.
- Wave 4
Skimmer drones arrive alongside fast raiders. Save supplies for a Skyguard AA, and check that its range reaches the drones’ route. Keep the Scout or Ironclad covering the road while the Skyguard handles air targets.
- Wave 5
The first Siege Crawler arrives. If lighter vehicles are drawing fire away from it, try Target: Strong on an Ironclad in range. That setting prioritizes the eligible enemy with the most remaining health.
Choose your next upgrade
Watch where enemies escape before spending supplies. If a unit goes quiet while enemies are still nearby, a Systems upgrade extends its reach and speeds up its attacks. If enemies pass through its coverage with health to spare, try an Ordnance upgrade for more damage. If the enemy travels along a route your unit can’t reach, add coverage on that route first.
Try one free run
Play one 20-wave run at Red Mesa Pass with checkpoints between waves. A one-time purchase unlocks all six maps and repeat runs. The game interface is in English.